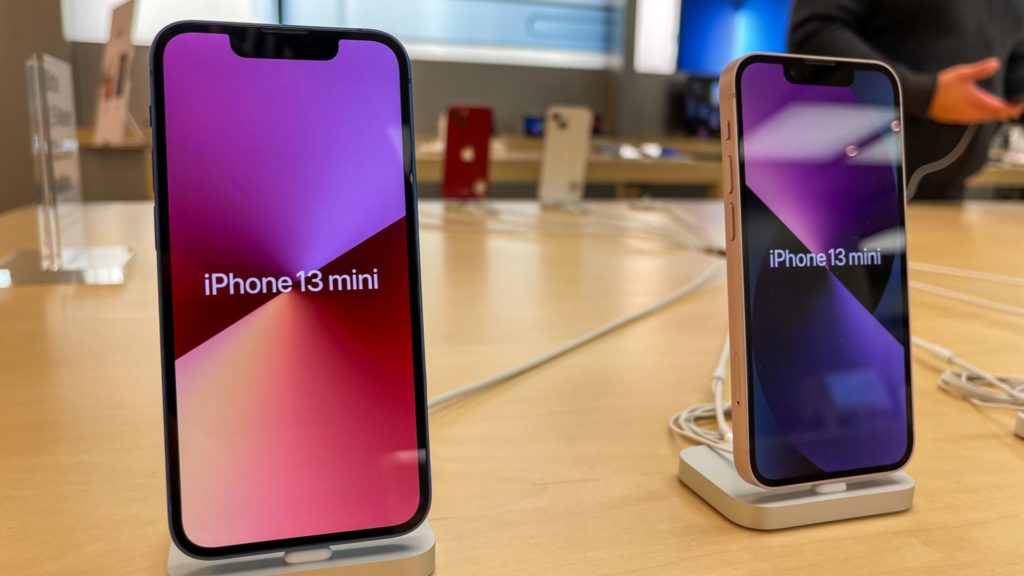
Are you having trouble with your iPhone 13 mini battery? Does it seem like it’s always running out of power, even when you just charged it? If so, it may be time for a battery replacement. In this blog post, we will walk you through the steps necessary to replace the battery in your iPhone 13 mini. We’ll provide all the tools and instructions you need to do the job yourself – and save yourself some money in the process!
Before we start, there are some precautions we need to take. First, power off your iPhone 13 mini and remove the SIM card tray. Next, discharge your iPhone by using it until the battery drains completely. Once your iPhone is powered off and discharged, we can begin!
The warning message that your iPhone might not be genuine is common after repairs. However, if you use original Apple parts and have no issues with functionality afterwards, there’s no reason to worry!
To ensure your device is in perfect working order, you’ll need a replacement adhesive for the components.
Here is the list of some necessary tools to begin with:
- P2 Pentalobe Screwdriver iPhone
- Heating pad
- Opening Picks (Set of 6)
- suction cups
- Suction Handle
- ESD Safe Tweezers Blunt Nose
- Spudger
- Phillips PH000 Screwdriver
- Tri-point Y000 Screwdriver
- Adhesive Remover (for Battery, Screen, and Glass Adhesive)
Step 1: Removing the screws
Your safety is important. Before you start working on your phone, be sure to discharge the battery below 25% and only use an appropriate tool for this type of repair if it’s swollen or otherwise damaged so that there isn’t any risk of potentially causing a dangerous thermal event while trying to fix something else by mistake!
When disassembling your iPhone, be sure to power it off first. Next, remove the two 6-8mm long pentalobe P2 screws at the bottom edge of the phone and have replacement sealing strips ready before proceeding past this step or take care not liquid exposure if you reassemble without them.
Have all parts organized, so there’s no confusion on where they go?
Step 2: Heating the back of your iPhone 13 mini
The iPhone 13 mini has a lot of heat buildup on the bottom edge that you can soften with a heating pad or hair dryer. You don’t want to overdo it, though, because you must protect your display and battery from getting burnt!
Heating the bottom edge of your iPhone 13 mini will make opening it easier. Apply a heating pad or hair dryer to this area for two minutes, then remove any excess adhesive carefully so as not to damage either part!
Step 3: Creating a gap
The best way to fix your phone screen is with a suction cup. Apply it as close to the edge of your device’s surface as possible and cover up any cracks or damage on display by applying clear packing tape before sticking them back in place! You can also use a strong adhesive like superglue if all else fails – make sure not to get polled because that’ll void the warranty (and might even cause physical harm).
To remove a stubborn panel from your phone, apply some force to pull up on it. In this case, you’ll want the suction cup of an opening tool so that there is not too much pressure applied when trying to create space for what’s coming next- inserting something sharp into tough adhesives often works best here! If all else fails and you’re having difficulty breaking through their bond, heat up whatever surface they are stuck on with friction until hearty cracks begin appearing, then carefully rock back forth slowly while applying light downward movements at regular intervals – repeating these two steps may take quite a while but eventually, success will come knocking.
Step 4: Separating the screen
Once you have cut the adhesive holding your iPhone’s display in place, slide an opening pick around its bottom right corner and along that same edge. It should slice through any residue without going too far underneath, where things can get damaged easily by mistake!
Step 5: Slicing the remaining adhesive
Once you’ve inserted the pick at each corner, slide it around to cut through all four adhesive strips holding on to your iPhone’s display. Make sure not to insert them deeply, or else there may be damage along their length since we want our cuts as close together as possible for now; leave about 3 millimetres worth (about one inch) sticking out past where they meet behind whichever edge has been lifted first—that should do nicely in terms of height!
Step 6: Opening the top of your iPhone 13 mini
The iPhone’s screen is like a book cover; you have to open it by swinging it from the right side. Be careful with this because some fragile ribbon cables connect between your phone and its logic board–so keep both up while working on them!
When you’re putting the display back together, align all of those clips along its top edge before pressing it down firmly. Give each clip a few clicks until they pop into place, and then give everything else one last go-around just for good measure!
Step 7: Unscrewing the battery and display connectors
The first step of this step will be removing the 1.2 mm-long Y000 screw securing the back housing plus any other small parts that might come apart during disassembly; keep track so everything goes back into place correctly, or else the damage could occur, which would prevent future repairs on similar devices due to lack proper care.
Grip the tweezers with one hand and carefully extract the battery or connector cover from its socket.
Step 8: Disconnecting the battery and display cable
The spudger is useful for getting those pesky connectors out of their sockets. Once you’ve got them loose, use your fingers to gently pry up on both ends until they are free-floating so that there’s less risk of damaging anything beneath them when removing or installing the next part!
When working on your board, try not to damage the black silicone seal surrounding this and other connections. These extra protection measures help guard against water or dust intrusion that can lead to costly repairs in future!
When you replace the logic board, be careful not to touch any exposed pins with your fingers.
Maintaining good repair techniques will ensure that nothing is damaged and all parts are properly connected before powering up!
Step 9: Unscrewing the front sensor connector
Remove the three screws (on the front sensor assembly cover):
- One PH000 1.4 mm-long screw
- One Y000 1.8 mm-long screw
- One Y000 1.2 mm-long screw
Once you have removed these screws, remove the cover gently.
Disconnect the sensor cables beneath the cover gently.
Once it is done, you can remove the front display assembly.
Step 10: Unscrewing the loudspeaker
Once you have removed the four 1.5 mm-long Phillips screws, your speaker should come apart nicely and easily! use a Phillip screwdriver for this step.
Once the screws are removed, you can gently lift the loudspeaker in its place.
Step 11: Removing the adhesive
Be careful when removing the battery’s adhesive cover, so you don’t damage it. Use a puncture-proof tool and avoid sharp objects to prevent leaking dangerous chemicals or catching fire from an exploded cell!
To remove the pull-tab from your iPhone 13 mini, gently grasp it with a pair of tweezers or fingers and slowly draw away from where you think it is underneath. Begin pulling hard enough so that there’s still tension on both ends, but not too much force will be needed at this point since you want your device intact! Once enough space has been made between battery cover, an iphone+housing unit should pop right out without any problems because safety comes first here around these parts.
If you cannot grasp onto your adhesive strip, use blunt tweezers or fingers to pull it back up. If there is no luck with this method and the battery feels like it’s about ready to break off from under its weight on top of being stuck down too deep for hand pressure alone – don’t pry!
With blunt nose tweezers, carefully grasp the wide pull tab and slowly pull it away from your device.
Carefully remove the second pull-tab with fingers and follow these steps to replace it. Be sure to keep unwrinkled while doing all steps above! Remember that you will not press down on your iPhone’s battery, so there is no need to be concerned about damaging any parts when removing this strip of the tape.
Once the adhesive is removed, you can successfully remove your old battery and replace it with the new one.
Final Words
Secure the new battery with pre-cut adhesive or double-sided tape. To position it correctly, apply some onto both sides of your device at places where the old adhesives were located but not directly onto batteries themselves – this will help keep conductive paths open so they don’t short out when exposed for too long! Press firmly into place until firm bond forms between all surfaces together, making sure there are no gaps along their length, either in the vertical direction or horizontal, wherever you might see them forming inside out.
Reassemble your device by following these steps in reverse order. If you think this replacement guide is difficult, try finding a cell phone repair near you.
You can contact us with any questions you have regarding this replacement guide. We are here to help.


