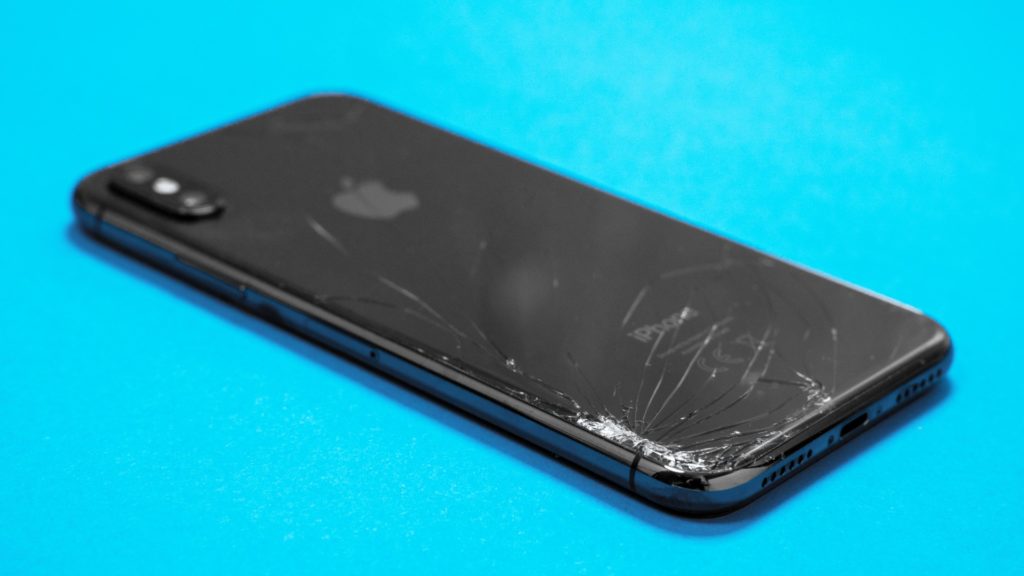
Is your iPhone X screen cracked? Your touch system may not be working, and you may be wondering how to fix it? Here is your guide on how to repair an iPhone X screen in Vancouver? You have to take these precautions more seriously as your assembly process depends on it. Use this guide to restore your iPhone X to look brand new again.
We believe when you start this iPhone X repair guide, there will be a combined earpiece speaker with a sensor. Affixed with the back of the screen, so when you install the new screen, you have to transfer them. All the steps are mentioned with details to help you during the display replacement.
We are emphasizing the sensor that you will transfer to your new screen because it contains the flood illuminator, which is vital for our Face ID to work. If you somehow damage the sensor, your Face ID security feature will cease to work.
Note: After you change the screen and notice the brightness levels are not working properly, update your iPhone to the latest iOS. You will need to turn off the true tone functionality, even if you use an original Apple screen.
Screws and Taping
Before you begin the procedure, keep in mind that the battery level of your iPhone X should be below 25, this will ensure that if you accidentally puncture the battery, it won’t burst into flame. Fully charged batteries are dangerous and can explode.
- Power off your iPhone to begin the disassembly. Remove the 6.9 mm-long pentalobe screws at the bottom of the iPhone. If you see that the screws are damaged, replace them with new ones. When you open your iPhone, remember that its waterproof seal is compromised. So make sure you add one yourself to avoid any liquid damage in the future. Do not replace the screen without the seals.
- Tape the screen to keep it from further breakage so you can prevent bodily harm during the screen. Depending on the severity, tape the screen to keep it from further breakage so you can prevent bodily harm during the replacement procedure. Don’t forget to wear safety glasses.
Opening Procedure
When you are done taping the screen and removing the screws, heat the lower edges of your iPhone X to soften the adhesive glue that is securing your display. If you want to go with the easiest tool, go with a hairdryer in your house and heat the display for about a minute.
- There is a special tool for this procedure, but we suggest you use a simple suction handle that is easily available. Apply the suction handle on the bottom of your iPhone, avoiding the edges as the suction will not work on them since you have tapped the screen, so there are no chances for any damage.
- Now start pulling the suction cup with constant pressure and when you see a slight gap, insert an opening pick into the gap. Keep gently knocking the screen up and down to weaken the adhesive. Remember that the adhesive seal is very strong, and you may need to reheat it while you are creating the initial gap.
- Use an opening pick made of hard plastic, and avoid using anything metal. When gently opening the gaps, don’t insert the pick too far inside the iPhone, as it may cause unnecessary damage to your internal components.
- When you reach the top edge of the screen, secured with glue and clips, you may need to wiggle the screen slowly, so it comes out of those clips. Ensure to heat the screen during this procedure as the adhesive may dry. The clips will break if you try to wiggle the screen harder. Work carefully with patience. Slide the pick on all edges to cut all the remaining adhesives. When you are done cutting all the adhesive, it’s time to remove the suction handle. Simply pull the small nub on the suction, and it will come out on its own.
- Now, open the iPhone by swinging it from left to right – like you open a book, keep a box or something behind the display you are opening, making a 90-degree angle. These screens are responsible for connecting the screen to its logic board. If you separate the screen, the fragile ribbon cables may get damaged.
Display Assembly
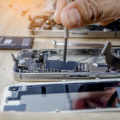
To start with this step, you first need to remove the Y000 screws securing the logic board and the connector bracket. When you remove any screws, make sure you keep them separately in each place, so you don’t mix them as it is hard to identify them. It will save your time and help you put back your iPhone X.
- Once you remove the bracket, which will be tight adhered in its place, lift it gently and separate it. You can attach your new iPhone screen to check if it is properly working before changing the damaged one during the process.
- Now use a point spudger or a clean fingernail filer to pry the battery connector from the socket. Be precise and try not to damage any surrounding board connections. Bend the connector you just removed from the socket to prevent it from contacting the board during the repair.
- Use the same spudger or nail filer to disconnect the OLED panel cable when connecting them back, using the same area to click them back in place. Then repeat the other side and press down the connector. Make sure to align all of them so their pins don’t bend, which can cause permanent damage to the connectors.
- Using the spudger, remove the digitizer cable from its socket. When you are reconnecting it, make sure to take your time to put it back in place, you should feel a click when it’s placed correctly. If supposedly your new touch screen isn’t responding, simply reseat this connector again, making sure it settles in its place correctly.
- The front panel cable will have lightly adhered to glue, so when you lift it, make sure you remove the glue first.
- Remove the display assembly and in this step, make sure you pause for a minute before moving forward with the replacement guide.
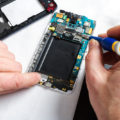
Earpiece Speaker and Front Sensor Assembly
Now that you have successfully removed the entire damaged screen from your iPhone X, you will move on to the next few final steps before enjoying your iPhone like it’s a new one. The break you took before starting the replacement guide is important as it will give you some time to rethink all the steps you followed. If you think you missed any step, you can always go back and forth on this guide, as it will be here whenever you need it. If you want, you can bookmark this guide so you don’t have to search for it in the future.
Now let’s get back to our guide. The earpiece speaker and the front sensor assembly are tricky, so pay attention.
- You have to remove the 1.2 mm Y000 screw that you will find on the back of your old display. It is paced near the infrared camera port on your iPhone X.
Note: There will be small metal grounding clips beneath the screws, and you have to be careful about them. You don’t want to lose them, and if you did, they are very hard to get.
- You will have to orient the clips as they are extremely small in size, and you may have to use tweezers or anything that help you hold these small metal grounding clips. Hold the clips so that when you install them back to your new screen, you can tighten them at the exact location. This step will be a little hard at first, so make sure you practice holding the clips in place before you do it.
- Now remove the other two Y000 screws placed to securely hold the speaker sensor assembly. There will be one of 1.6mm and the other 1.3mm.
- You have removed all the screws necessary to free the sensor, so you can just pull it off of your old iPhone X screen. Keep in mind that the sensor will have adhered to the screen. Before you lift, make sure you have warmed the glue first. It will ensure smooth removal of your earpiece removal.
- With the help of a spudger, gently try to pry under the edge of the speaker assembly and flip it. The speaker, however, will remain in position with the help of a very thin flex cable. Be careful not to damage it as you will have to change it with a new one if you do damage it.
- Once you have heated the adhesive, it is time to remove it carefully with the help of a spudger. Use the spudger underneath the flex cable so you don’t damage it.
- Twist the spudger gently, not too hard, to separate the microphone while carefully removing it without straining the flex cable.
- The point of the spudger is sharp and can help you finish the job.
- Work yourself from left to right with the help of a plastic pick, and make your way by opening the adhesive from the flex cable and underneath the proximity sensor. And the flood illuminator sensor will be attached to it, so make sure you remove it.
- You can separate the module from the front panel when you wiggle it.
- Hold the speaker from the module out of the way by lifting it. Just be careful about the flex cable.
- Use tweezers to lift the ambient light sensor from the top-notch side of the display.
- The sensor will remain attached to the rest of the sensor assembly.
The Ambient Sensor
The ambient light sensor with the diffuser strip will be detached but remains embedded in the display. You have to lever it out with the help of tools, a sharp thin blade.
- During this assembly, you need extra focus, and you need to install the diffuser into the display first by making sure that it is in the right direction.
- Then you will set the ambient light sensor on top of the diffuser. You will have to hold the sensor carefully while installing the screws, as its position is important. Once you have tightened the screws, the sensor will remain in its place.
Finishing Up
Now you have removed everything between the display and the remaining body. Take your new iPhone X screen and follow the steps from “step five” to “step one” in reverse order to make sure you add all the necessary components to the new iPhone X display that you will be replacing. Ensure all the adhesives and seals are in place of the new display as they will be most important at the time of replacement.
Final Words
It is a very detailed guide on how to repair an iPhone X screen in Vancouver. You will be successful on the first attempt, as this guide is for everyone. And if you don’t succeed on the first attempt, remember to go through it as many times as you want because you have to properly replace the old iPhone X screen. Make sure to follow each step in its entirety before moving to the next one. If you want to know more about cell phones of all sorts and guides for replacing different cell phone components, you can contact us. We will be happy to help you resolve any query that you have.
Related posts:
 Everything You Need to Know about Apple iPhone 13 in Vancouver.

 Here’s How You can fix iPhone 13’s Bluetooth problem
 Best iPhone Cases That Could Save You From Cell Phone Repair?
 Cell Phone Maintenance Tips For A Long Lasting Cell Phone Life
