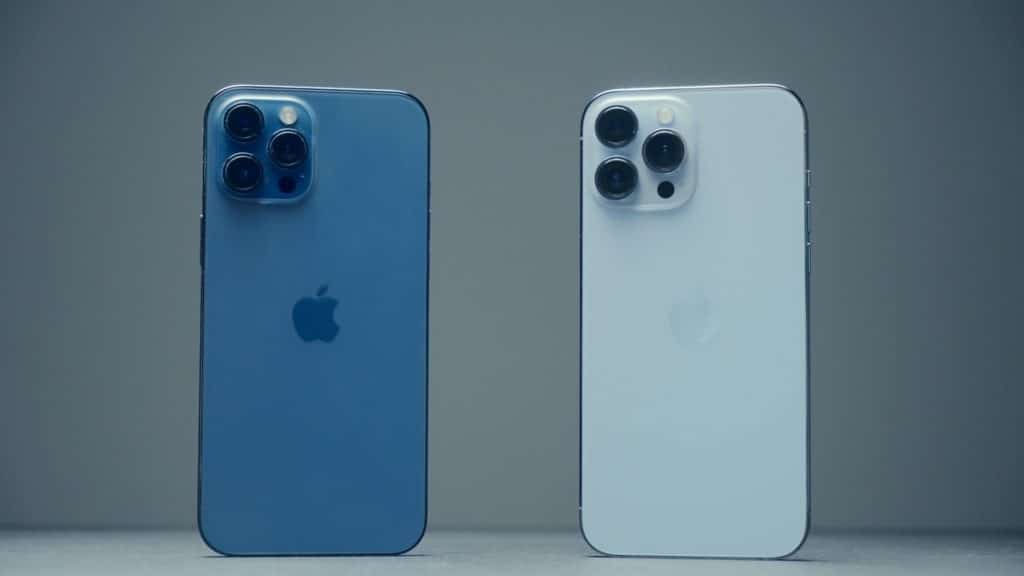
According to Apple, an iPhone battery can hold up to 80% of its charge for up to 500 charge cycles, which will last for about 18-24 months. After that, your iPhone may require charging a lot more often, and iOS may force you to accept a warning that your phone’s performance has been affected (in other words, it will run slower). In the following guide, you will learn how to replace your iPhone’s battery and restore its performance to that of a brand new device.
Make sure you take appropriate precautions in case your battery is swollen. It is important to note that in this guide, the loudspeaker is removed so that the battery adhesive strip will not fail during the repair process. There is no need to remove the loudspeaker if you want to remove the battery.
Even when you use original Apple parts to repair your iPhone, your device could display a warning message that the battery is not genuine. You can safely ignore this warning if your iPhone is functioning normally. Changing the battery will result in losing battery health and performance features.
To ensure that your newly installed battery performs optimally, after completing this guide, you should calibrate the battery: Charge it to 100% and then keep charging it for at least another two hours. It would help if you charged it continuously until it reaches 100%. After that, you should continue using your iPhone until it shuts down due to low battery.
Before you begin with this replacement guide, make sure to have the following tools:
- P2 Pentalobe Screwdriver iPhone
- Heating pad
- Suction Handle
- Opening Picks
- Phillips #00 Screwdriver
- Tri-point Y000 Screwdriver
- Safe Tweezers Blunt Nose
- Tweezers
- Spudger
- Isopropyl Alcohol (90% or Greater)
- Safety Glasses
- Packing Tape
- Coffee Filters or a lint-free cloth
Step 1 Remove the pentalobe screws
- It is advisable to discharge your iPhone battery below 25% before proceeding. When an accidentally punctured lithium-ion battery is charged, it can catch fire and/or explode.
- Before you begin disassembling your iPhone, you should turn it off.
- At the bottom edge of the iPhone, you will find two pentalobe P2 screws 6.8 mm long.
- The waterproof seals of the iPhone will be compromised when the display is opened. Ensure that you have replacement seals ready before proceeding past this step, or take care not to expose the iPhone to liquid after reassembling it without replacing the seals.
Step 2 Tape over any cracks
- If your iPhone screen has a crack, tape over the glass s you can prevent further breakage during your repair and prevent bodily injury.
- Cover the display of the iPhone with overlapping pieces of packing tape until the entire face of the phone is covered.
- When prying and lifting the display, this will maintain the structural integrity and keep glass shards contained.
- If you are having trouble getting a suction cup to stick in the next few steps because of the broken glass, fold a strong piece of tape (such as duct tape) into a handle and lift the display instead. You must wear safety glasses to protect your eyes from any glass during the repair.
Step 3 Heating the lower edge of the iPhone
- When you heat the lower edge of the iPhone, the adhesive securing the display softens, making it much easier to open.
- The best way to soften up the adhesive underneath the iPhone is by using a hairdryer or heat gun or preparing a heating pad and applying it to the lower edge of the iPhone.
Step 4 Apply suction cup(s)
- As an example, the next two steps demonstrate how to use suction cups, an extremely useful tool for anyone who does repairs frequently.
- For larger iPhones like the iPhone 13, you do not need the depth gauge attached at the center of the suction cup. If it is attached, you can remove it.
- It would be best to place the suction cups near the bottom edge of the iPhone, one on the front and one on the back.
- Place both suction cups firmly in their respective positions.
- If your display is badly cracked, you may be able to get the suction cups to adhere better by covering them with a layer of clear packing tape. You will also find two pieces of tape included in the suction cup package for this specific purpose.
Step 5 Lift the display slightly
- To do this, you will need to hold your iPhone securely and close the handle of the suction cup so that it will separate the screen from the rear case of the phone.
- You don’t need to separate the screen completely; a small opening along the bottom edge is all you need.
- You should insert the opening pick into the opening under the display on the lower edge of the iPhone.
Step 6 Separate the screen adhesive
- When the edges of the iPhone are heated, it will be easier to cut through the adhesive that holds the display in place.
- It is a good idea to apply heat to the left edge of your iPhone for about a minute to soften the adhesive underneath.
- It is best to slide the opening pick around the lower-left corner of the iPhone and up the left edge, slicing through the adhesive holding the display in place.
- Remember not to insert the pick more than 2 mm into the iPhone, or you may damage the display cables along this side.
- You can apply heat to the right edge of the iPhone for about a minute to soften the adhesive underneath.
- Continue to slide your pick up the right side of the iPhone, continuing to separate the adhesive by inserting your pick at the bottom edge of the iPhone.
- Never insert the pick more than 2 mm into the device to avoid damaging internal components.
Step 7 Open the iPhone
- Please remove your suction handle if you have not already done so.
- By swinging up the display of the iPhone from the right side as if it were a book cover, you can open it.
- There is still a fragile ribbon cable connecting the display to the iPhone’s logic board, so you should not try to separate the display from the iPhone just yet fully.
- You may want to prop up the display against something to remain upright while you work on the phone.
- The reassembly process involves laying the display in place, aligning the clips along the top edge, and gently pressing the top edge into place before snapping the rest of the display into place. Make sure the clips around the perimeter of the display are not bent and if that does not work, check the condition of the clips around the perimeter.
Step 8 Unscrew the battery and display connector cover
- Remove the three 1.3 mm screws holding the battery and display connector cover with a Phillips screwdriver.
- As you work on your iPhone, make sure that you keep track of each screw and make sure that it is put back exactly where it came from not to damage it.
- Before you seal the display on the iPhone during reassembly, do not forget to power on the device and test all functions. Do not forget to power off the device completely once you have reassembled it.
Step 9 Disconnect the battery
- To remove the battery connector from its socket on the logic board, use a spudger or a clean fingernail to pry it out.
- Please make sure not to damage the black silicone seal around this and other connections on the board. Seals such as this help prevent water and dust from coming into the board.
- Make sure that you bend the connector slightly away from the logic board so that no power will be provided to the phone during your repair if the connector accidentally contacts the socket.
Step 10 Disconnect the display cable
- To disconnect the display cable connector, use a spudger or a fingernail.
- When reattaching press connectors such as this one, you must align and press down on one side until it clicks into place, and then repeat the process on the other side. It would be best if you did not press down the center. An improperly aligned connector can cause the pins to bend, resulting in permanent damage.
Step 11 Unscrew the front sensor connector cover
The front sensor connector cover is secured by three screws that need to be removed:
- There is one Phillips screw with a diameter of 1.7 mm
- There is one Phillips screw measuring 1.3 mm in diameter
- There is one 1.8 mm Y000 screw
Step 12 Remove the front sensor connector cover
- You must unhook the small clip by the edge of the phone before removing the cover from the center.
- Take off the cover.
- In reassembly, first insert the clip on the left edge into the slot, then hinge the remainder of the cover.
Step 13 Disconnect the front sensors
- You can disconnect the cable connector for the front sensor assembly with a spudger or a fingernail.
Step 14 Remove the screen
- It is time to remove the screen.
- To replace the waterproof adhesive around the edges of the display, pause here during reassembly.
Step 15 Unscrew the loudspeaker
- To remove the loudspeaker, use a Phillips screwdriver to remove the four 1.7 mm screws.
- Disconnect the loudspeaker from the iPhone.
Step 16 Locate the adhesive pull-tabs
- In the rear case, the battery is attached with four pieces of stretch-release adhesive – two on each side of the bottom edge.
- Black pull-tabs are attached to the ends of each piece of adhesive, and these have lightly adhered to the battery’s edge.
- The next step is to slowly stretch out the adhesive under the battery by pulling each tab. It is easy to remove batteries with these “command-strip” style adhesives, as they lose their stick when stretched.
- Don’t worry if the strips break! Sometimes they don’t work as intended. Read on for tips on removing them.
- Do not poke the battery with any sharp tools. If the battery is punctured, it may release dangerous chemicals or catch fire.
- To grab the adhesive pull-tab on the top right battery, use a pair of blunt tweezers and flat end of a spudger to lift it gently.
- You need to peel down the battery adhesive pull-tab to remove it from the upper edge of the battery.
- You need to repeat the process for the adhesive pull-tab on the top left side of the battery.
Step 17 How to remove a stuck battery
- Alternatively, suppose you have trouble removing the battery. You can apply a few drops of high concentration (90%) isopropyl alcohol under the battery over the area where the broken adhesive strip(s) is located.
- Turn your phone so that the isopropyl alcohol can flow toward the adhesive strip as you tilt the phone.
- You will need to wait about one minute for the alcohol solution to weaken the adhesive.
- To further weaken the adhesive, add a few drops of alcohol. Using an opening pick or the flat end of a spudger, you may gently lift the battery.
- It would be best not to force the battery out of the socket by force. Be careful not to puncture or deform the battery when prying it out.
Step 18 Remove the battery (Final)
- Take the battery out of the iPhone.
- Please remove any remaining alcohol solution from the phone with a coffee filter or let it air dry before installing the new battery.
- Refer to this guide if your new battery did not come with adhesive preinstalled.
- After reassembly, perform a force restart. It should solve several problems and simplify troubleshooting.
Conclusion
Ensure that the new replacement part is the same as the original part – you may need to transfer the remaining components or remove the adhesive backing from the new part before installing it.
Following these steps in reverse order will help you reassemble your device.
If you think this replacement guide is not that easy, make sure to find a cell phone repair near you. You can also contact us so we can help you with any questions you may have regarding your phone repair.


