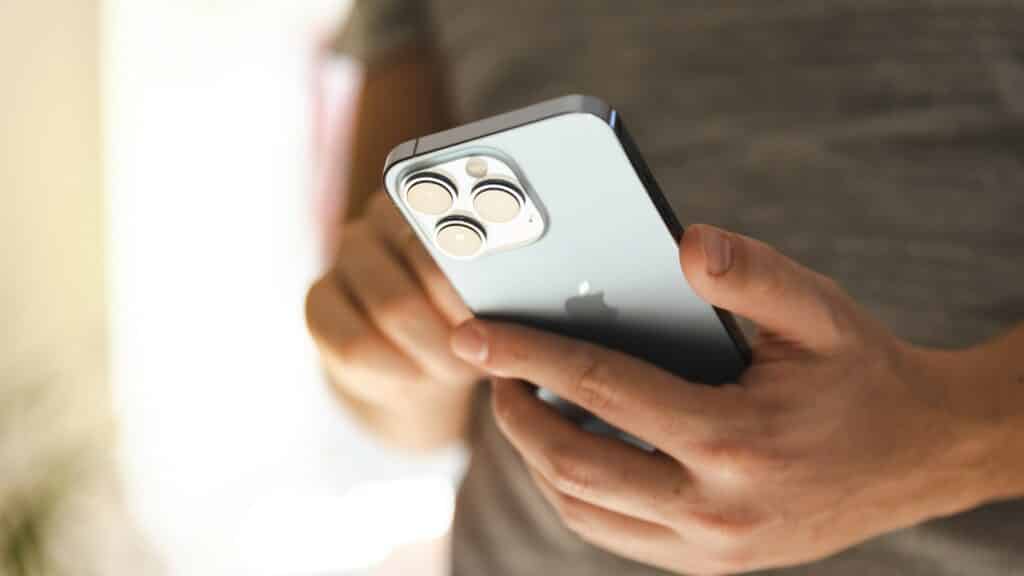
Apples iPhone mobiles are becoming a benchmark for amazing cameras. But as good as they are, the cameras are not indestructible. So, if you need to replace the rear-facing camera on your iPhone 13, here is a guide to help you out.
This guide will easily help you gather all the necessary tools with elaborate steps you cannot find elsewhere.
Tools Needed:
- A heat gun or hair dryer
- A suction cup
- A plastic opening tool
- A Phillips screwdriver
- A spudger
- An iPhone rear-facing camera replacement
Step1
- The pantelope screws on the bottom of your iPhone need to be removed to take the back cover off your iPhone 13 and access the rear-facing camera.
- Once you have unscrewed those, use the suction cup to pull up on the display assembly a little bit so you can insert the plastic opening tool under the display assembly and begin prying it up.
- Please ensure you heat the back of the display assembly with a heat gun or hair dryer before you begin prying so the adhesive holding it is melted and easier to remove.
Warning: If your screen gets cracked during the process or was already broken, apply some tape, so the shards of glass do not cut you.
Step 2
- Now that you have pried up the display assembly insert the spudger under the battery connector to disconnect it.
- Unscrew the battery and display connector coverings using the Phillips screwdriver. Underneath the cover, you will see some cables that need to be disconnected.
- There will be one battery cable and a display cable. Make sure to use a plastic tool to disconnect them, so you do not damage the connectors.
Step3
- Unscrew the front sensor connector cover with the Phillips screwdriver and disconnect the front sensor cable.
- Remove the three screws next to the Lightning connector using the Phillips screwdriver, and then remove the bracket holding the rear-facing camera in place. Underneath it, you have to disconnect the sensor cables.
- Now you can remove the screen.
Step4
- Unscrew the camera cover holding the camera. There will be three screws, two on the sides and one in the middle.
Step5
- Once you remove the cover, disconnect its cable from the logic board.
- Remove the old camera from the bracket.
Step6
- To install the new rear-facing camera, connect its cable to the logic board and screw the camera cover back on.
- Reattach the bracket holding the rear-facing camera in place and screw it in.
- Reconnect all the cables you disconnected in the previous steps in the reverse order.
Congratulations, you have now successfully replaced the rear-facing camera in your iPhone 13!
Finally
We hope this replacement guide was helpful to you. If you think this guide is difficult, you can take it to a certified technician or to a cell phone repair center like CellDoctor. We will handle the entire process quickly and efficiently so you can have your camera replaced and be on your way! If you have any queries about this replacement guide, please don’t hesitate to contact us. Make sure to come back soon for more exciting guides!


