The Samsung Galaxy S21 5G is a top-of-the-line smartphone that was released in 2020. It features a 6.7-inch AMOLED display, 8GB of RAM and 128GB of internal storage. The S21 5G also has a triple rear camera system and a 4000mAh battery.
This phone is one of the best if you have a lot of dealing on your cell phone, as you can do many things with it. However, like all phones, it has a battery life and will need to be replaced eventually.
When the time comes to replace your S21 5G’s battery, don’t fret! It’s actually a pretty simple process that anyone can do. This replacement guide will walk you through everything you need to know in order to replace your phone’s battery, so you can get back to using your S21 5G as if it was new again.
What You’ll Need:
- Galaxy S21 5G
- Replacement Battery for the Galaxy S21 5G
- Phillips Screwdriver
- Spudger
- Tweezers
- Heating Pad
- Opening Picks
Step One: Power Down Your Phone
Before you do anything, you’ll want to make sure your phone is turned off. To do this, press and hold the power button for a few seconds until the screen goes black and the phone powers down. Once your phone is off, proceed to the next step.
Step Two: Remove the Back Panel
The first thing you’ll need to do is remove the back panel of your phone. To do this, start by removing the SIM card tray from the top of the phone. Once the SIM card tray is out, you have to start heating the edges of your phone.
The back panel is attached with the help of an adhesive that can only be removed once the adhesive is soft. The heat helps softens the adhesive, to do that you can use a heating pad or a hair dryer. Heating the edges is an important step; without it, you cannot open the back panel.
make sure you do not overheat the phone as it can lead to damage to the display. We recommend heating for not more than 20-30 seconds.
Once you have heated the phone, use a suction cup or your fingers to remove the back panel starting from the top. Work your way down slowly and make sure that you do not apply too much pressure as it can break. You can use opening picks to ease up the process.
Make sure you have a pack of six opening packs. Insert each opening pick at every corner and side of your phone back cover. Keep heating the edges as you try to insert the opening picks, as this will make the process fast.
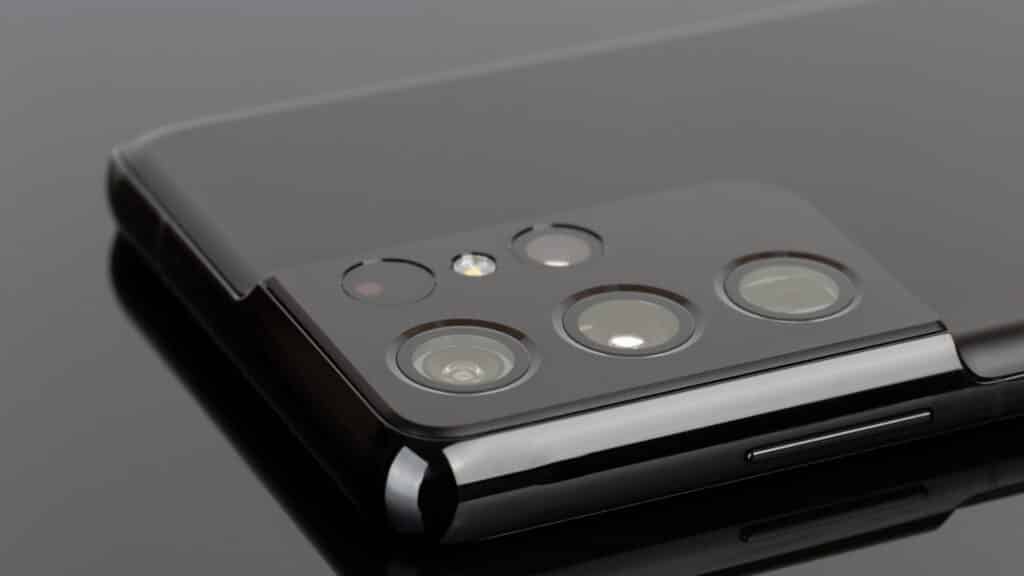
Step three: Removing the camera shell
The camera shell needs to be removed to continue with this guide. The same process will help you to remove the camera shell. Heat the camera shell as there is some adhesive underneath it holding it down in place. Use your opening picks and insert them with slight force.
Once you are done, the camera shell and the back cover will come out.
Step four: Removing the motherboard bracket
Five screws are holding down the motherboard bracket. Use a Phillips screwdriver to remove them. Once they are removed, you can lift the motherboard bracket off of the phone. But before you do, there are some clips that you need to disconnect.
There are a total of four clips that you need to disconnect, two on the top and two on the bottom. Use a spudger or your opening picks to disconnect them carefully. Once they are disconnected, you can lift the motherboard bracket away from the phone.
Step Five: Disconnecting the Battery
With the help of tweezers, remove the black tape that is holding down the battery. Once the tape is removed, you will see four gold-coloured contacts. These are the contacts that need to be disconnected in order to remove the battery.
Use a spudger or your fingers to carefully disconnect them. Once they are disconnected, you can lift the battery away from the phone. There are some other flex cables you also need to disconnect. The wireless charging coil is the first one.
To disconnect it, use a spudger and pry it up from the socket. Once done, peel away the wireless charging coil from the adhesive.
Step six: Removing the loudspeaker
Six screws hold the loudspeaker in place. Use a Phillips screwdriver to remove them. Once they are removed, you can lift the loudspeaker away from the phone. There is some adhesive underneath it holding it down in place. Carefully remove the adhesive and set the loudspeaker aside.
Step seven: Disconnecting the primary cables
There are several primary cables underneath the loudspeaker. These cables are connected straight to the motherboard, and you must disconnect them from both ends to remove them completely. Use the flat side of your spudger to disconnect them carefully.
Step eight: Removing the battery
Now that all the components are removed, it is time to remove the battery. Carefully apply a few drops of isopropyl alcohol at the edge of the battery so it can go underneath it. It would help if you had a small container, containing isopropyl alcohol. It will help soften up the adhesive underneath the battery.
With the help of a suction cup, pull the battery and insert an opening pick at the edges. It will lift the battery and you can remove it. Don’t force too much pressure as it can break the battery.
With the help of isopropyl alcohol clean up any adhesive that is left on the phone. And you have now successfully ready to replace your battery.
Step nine: Installing the New Battery
Now it’s time to install the new battery. Start by peeling off the plastic film that is protecting the new battery. Once the film is removed, you can place the new battery in the same spot as the old one.
Make sure that the contacts on the new battery are properly aligned with the contacts on the phone. Once the new battery is in place, use a spudger or your fingers to connect the contacts carefully.
Final Words
If you wish to resemble your Samsung galaxy S21 5G, follow these steps in reverse order. Put all the parts back in their place and make sure that everything is properly connected. If you think this replacement guide is above your expertise, you should get in touch with Cell Doctor. Cell Doctor is one of the leading cell phone repair centres in Canada.
The team of experts at Cell Doctor will help you with any repair or replacement. We hope this blog was helpful and informative, please don’t hesitate to contact us. For more interesting blogs like this, stay tuned with us.
Thank you for reading!
Related posts: