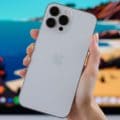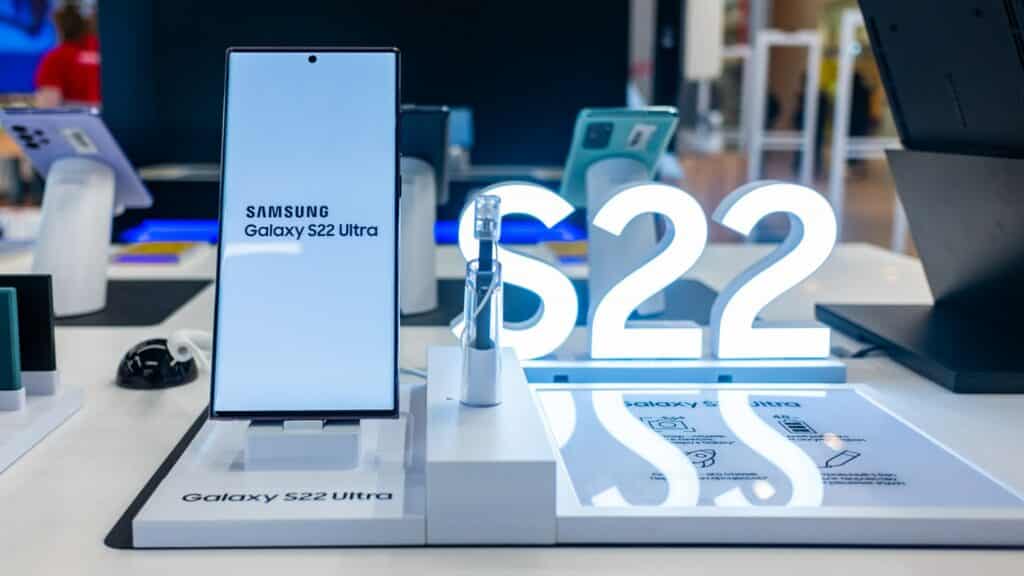
Do you own a Samsung Galaxy S22? You know it’s one of the best smartphones on the market. But what if something goes wrong, and your screen needs to be replaced? This guide is here to demonstrate to you how to do just that!
The all-new Samsung Galaxy S22 is one of the best smartphones today. Its sleek design and powerful features make it perfect for anyone looking for a high-quality device. The Samsung Galaxy s22 is a great phone, but it is susceptible to damage like any other phone. Whether it’s your cracked screen or a dead battery, sooner or later, you will need to replace something on your Galaxy S22. And when that happens, you’ll need a reliable guide to help you through the process.
This Samsung Galaxy S22 Screen Replacement Guide will show you everything you need to know to replace the screen on your Galaxy S22. We are here to guide you through the entire process, step by step, so you can get your phone back up and running as quickly as possible.
What You’ll Need:
- A new Samsung Galaxy S22 screen
Most of the time, you purchase a new screen for any mobile device. You get an adhesive patch according to the screen size of your phone. That seals back the water residence. So no matter where you buy, ensure your new screen has that adhesive. If not, you can always buy a new adhesive patch.
- A Phillips head screwdriver
- A pry tool
- A suction cup
- A heat gun
- An opening pick
Step 1: Powering off your phone and remove the SIM card tray.
First, power off your Galaxy S22 by holding the power button for a few seconds. Once it’s turned off, locate the SIM card tray on the side of the phone and use your fingernail or any small tool to eject it. This is one of the initial stages of this guide, so make sure you don’t skip this step. Removing the SIM tray and powering it off would help you focus on this guide.
Step 2: Remove the back glass cover of the Samsung Galaxy S22.
The back glass cover is the first thing that will be removed before you start this replacement guide for Samsung Galaxy S22.
Step 2 is where you need to be extra careful. Be sure to heat the back glass cover of your Samsung galaxy s22, not soften the adhesive.
Use a hard card, like a credit card you don’t use anymore. You can also use plastic picks. Make sure you have six of them.
This guide is not ordinary, so you may have to pay attention to every detail. You must dip a corner of your credit card or plastic pick into isopropyl alcohol before prying up the back glass cover. Once the back glass is heated, the adhesive will be soft enough for you to insert the card or plastic pick.
Repeat this process on every edge of your Samsung Galaxy S22. Ensure you constantly heat the part where you insert your card or plastic pick. You will be able to remove the back cover once you completely get rid of all the adhesive.
Step 3: Removing the wireless charging plate cover.
There will be six screws holding the wireless charging plate cover. With the help of a screwdriver, remove all six of them and secure them someplace safe, so you don’t lose them.
Once done, remove the bracket without any damage and remove the charging plate.
Step 4: Removing the loudspeaker cover.
The next step is to remove the loudspeaker cover. To do that, you must remove all the flex cables attached. There will be the battery flex cable and seven screws. These seven screws are what hold down the loudspeaker. Once you remove the loudspeaker cover, you must remove the plate above. There will be three screws holding down the charging port. Remove those screws and then pick the charging port with the help of a tweezer.
Step 5: Removing the battery
The battery will come out easy. All you have to do is add some isopropyl alcohol beneath it, so the adhesive holding down the battery softens up. Do not force the battery as it could damage the battery. Let the battery come out on its own by softly pulling it out.
Step 6: Removing antenna and buttons
You have to remove the 5G antenna and the buttons. You must remove the three screws securing the 5G antenna to proceed. Once these screws are removed, apply some heat with the help of a heating gun or heating pad and remove the buttons.
After finishing the last step, step six, you will be done. The new LCD screen will be easy to put back. Just follow all the steps in reverse order and you will be good to go.
Bottom Line
If you think that this replacement guide is difficult. Get in touch with your friendly mobile repair experts at Cell doctor. You can book an appointment with them to fix your phone as soon as possible.
At Cell Doctor, you will get the best service and quality product to make your phone look brand new. We are one of the most trusted cell phone repair centers in Canada.
We hope this guide was helpful to you and if you have any questions, please feel free to contact us.
Related posts: